Simple A/B testing with TelemetryDeck
30 Apr 2025
I’m working on growing my workout-tracking app Personal Best, and as part of that I wanted to run an A/B test on two different paywall designs to see which one performed best. I’ve never done this in my apps before, and I was unsure how. I like to keep third-party libraries in my apps to a minimum, so I was reluctant to use something like Mixpanel if I didn’t absolutely have to.
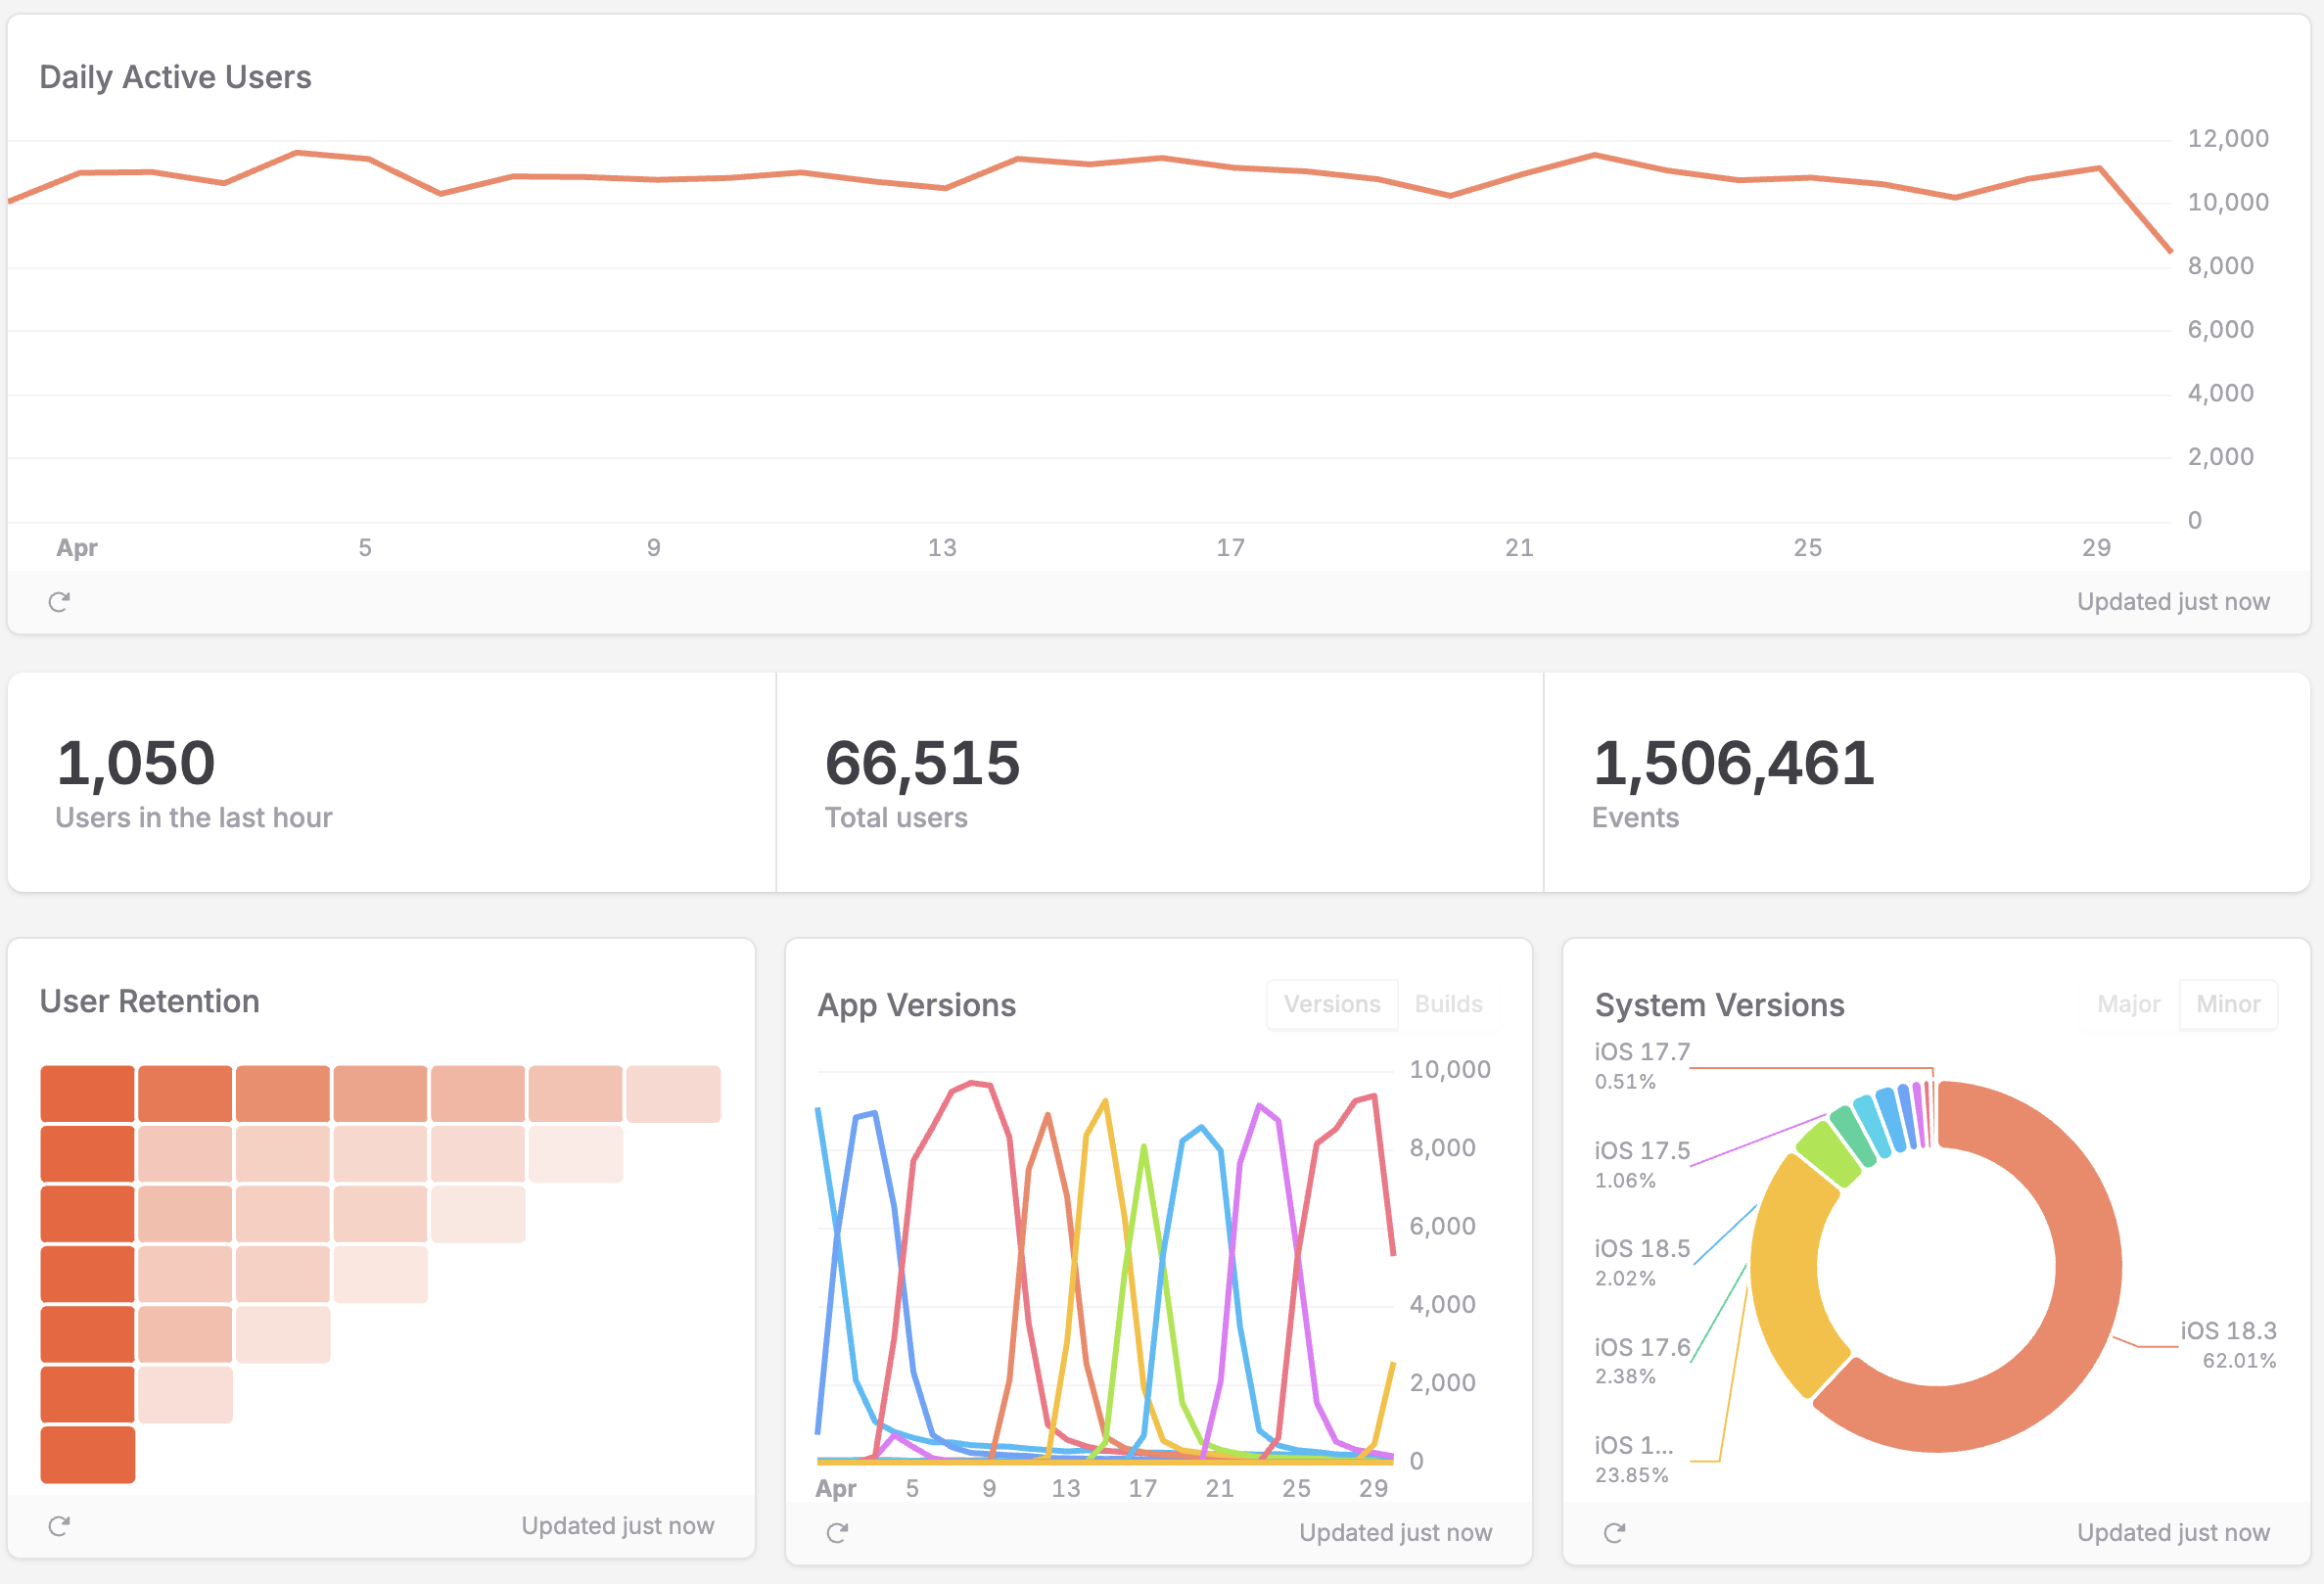
Fortunately I learned that TelemetryDeck supports A/B testing. I’ve been a happy customer of TelemetryDeck for years. I use it to record analytics in my apps in a privacy-first way, so I can see things like daily active users, what OS people are using, and things like that.
So, I built a simple integration into my app to allow it to support A/B testing. It’s something manual and hard coded, but it suits my needs for running a basic experiment. Here’s how to do it.
Getting started
Assuming you already have TelemetryDeck set up in your app, you’ll need something in to represent each cohort. For this I made an enum.
import Foundation

enum ABTestCohort: String {
  case control
  case experiment

  private static func getRandomCohort() -> ABTestCohort {
    return Bool.random() ? .control : .experiment
  }

  static func getCohort(forKey key: String) -> ABTestCohort {

    if let savedCohort = UserDefaults.standard.string(forKey: key),
       let cohort = ABTestCohort(rawValue: savedCohort) {
      print("🧪 Retrieved saved cohort '\(cohort.rawValue)' for experiment \(key)")
      return cohort
    }

    // If no cohort is saved, generate a random one and save it
    let newCohort = getRandomCohort()
    setCohort(newCohort, forKey: key)
    print("🧪 Assigned cohort '\(newCohort.rawValue)' for experiment \(key)")
    return newCohort
  }

  private static func setCohort(_ cohort: ABTestCohort, forKey key: String) {
    UserDefaults.standard.set(cohort.rawValue, forKey: key)
  }
}
The code here is very straightforward. There’s only one public method: getCohort(forKey:). It takes a key which corresponds to an experiment, then returns either .control or .experiment to denote which user the cohort is in. It makes use of UserDefaults to store the value locally, so that we’ll always get the same value each time.
Hooking it up to a view
Next we need to make use of it in a view. For this, let’s assume we have two SwiftUI views defined ahead of time: Paywall_Control and Paywall_Experiment. Now, we make a wrapper component that makes use of our new ABTestCohort enum and shows either the control or experiment to the user based on what it returns:
import SwiftUI

struct Paywall {
  private let cohort: ABTestCohort

  init() {
   self.cohort = ABTestCohort.getCohort(forKey: "PaywallExperiment")
  }

  #if DEBUG
  init(cohort: ABTestCohort) {
    self.cohort = cohort
  }
  #endif

  var body: some View {
    switch cohort {
      case .control: Paywall_Control()
      case .experiment: Paywall_Experiment()
    }
  }
}

#Preview("Control") {
  Paywall(cohort: .control)
}

#Preview("Experiment") {
  Paywall(cohort: .experiment)
}
Just like before the code here is very simple. When the view initialises, we determine which cohort the user is in, and set a local variable accordingly. Then we display one of the views based on what we get back.
By doing this on init instead of asynchronously using some state, we ensure that a value is set before the view appears. It’s ok to do this here as the way the value gets set – being read from UserDefaults – is very fast, but if we were doing a more complex lookup (for example, getting a value from the internet), we’d do something more fault tolerant.
The #if DEBUG part gives us an extra initialiser that’s only available in debug mode, allowing us to manually test this in previews. It’ll be stripped out in release builds.
Sending it to TelemetryDeck
Now we need to let TelemetryDeck know when each variant is displayed. All we need to do for this is add an onAppear modifier to our view’s body:
...

var body: some View {
  Group {
    switch cohort {
      case .control: Paywall_Control()
      case .experiment: Paywall_Experiment()
    }
  }
  .onAppear {
    TelemetryDeck.signal("PaywallShown", parameters: ["variant": cohort.rawValue])
  }
}
Here we’re simply sending a PaywallShown event to TelemetryDeck when the view loads, with some metadata to tell it which variant we displayed.
Creating an A/B test in TelemetryDeck
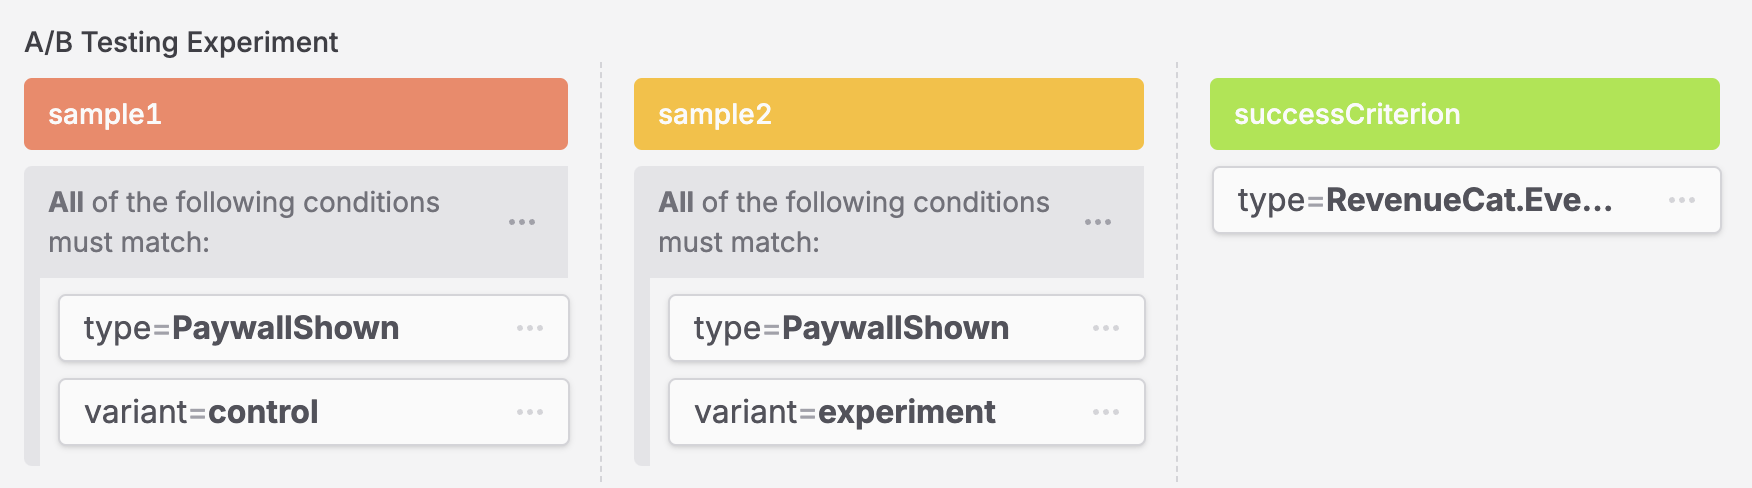
The last step is to set up an A/B test on TelemetryDeck. Create a new insight, and when asked for the type, choose A/B Testing Experiment.
For sample1 add the event we sent in the previous step, with the variant set to control. For sample2, do the same event, with the variant set to experiment.
Adding the successCriterion is the final step. This is how we tell TelemetryDeck the thing we’re trying to improve. In my case, that’s people purchasing Personal Best Pro. I use TelemetryDeck’s integration with RevenueCat, which means there’s already an event for this I can hook into: RevenueCat.Events.INITIAL_PURCHASE.
And with that, the A/B test is set up. TelemetryDeck will monitor the events my app sends and determine which variant is more successful.
Issues and future improvements
This is a very lightweight version of A/B testing, and it does have its limitations.
1. Only one experiment
This approach only allows us to test one experiment at a time. If we wanted to test three different paywalls to see which is best, we’d need to adapt the code to support this.
2. It affects all users
If we wanted to tweak the test to not be 50/50 (for example only showing the experiment to 10% of users), we can’t easily do that without changing the code.
3. No remote control
There’s no way for us to remotely enable or disable the test. It’s baked into the app and we can only remove it with an App Store update, which could take days to get approved.
Fixing this would complicate our simple solution somewhat. We’d probably need some sort of server-side logic that the app can check on startup which says if the experiment is enabled. A lightweight version might be a Cloudflare worker which returns some JSON, like this:
{
  "tests": {
    "paywall": true,
    "someOtherTest": false
  }
}
Then during the app’s startup you’d download this JSON and use it in the UI to determine which A/B tests should be enabled.
Finally
So that’s how to run a lightweight A/B test using TelemetryDeck. If you’d like to try it for yourself, here’s my referral link for TelemetryDeck, which will give you 100,000 extra signals each month for free.
Thanks for reading.
To get in touch, email me or find me on Mastodon.
If you liked this post, you'll love my iOS apps. Check them out below.